How to use Brightdata with scrapy
With weegee.ch I run a handful crawlers. At the beginning I didn’t have problems with crawling protection but over time my little project got more successful (I’m on the first page of Google for the relevant search queries since a few weeks) so I see more and more websites blocking me.
I went for Brightdata as they offer a good “pay as you use” model which works well for smaller sites like mine (and don’t require to pay a minimal price per month).
I couldn’t find a documentation which covers the whole install process, that’s why I’m writing this post.
What you’ll need before following this howto
- a brightdata account
- I’m assuming you have a linux host where you’re running your crawlers
Install luminati-proxy
To use Brightdata’s service you need a daemon which runs locally. Scrapy will connect to the daemon on localhost, the daemon then connects to Brightdatas proxy. You have several “proxy types”:
- datacenter (cheapest option)
- isp
- residential, mobile, … (for these you need to go through a compliance process to prove that your use case is not fraudulent)
There is an official installation guide to install luminati-proxy (I chose manual install, their automated bash script didn’t work and is too scary anyway as it installs node versions on its own - something I’d rather want to do myself).
Go sure you double check the node and npm version. I advice to first install on your laptop to get it running first before installing it on your server:
- double check your node version (
node --version) and npm version (npm --version) match the requirements - if you need to upgrade/downgrade best use
n(install withnpm install -g n). Note: the npm version somehow up/downgrades with the node version. If it doesn’t, usesudo npm install -g npm@8.1.3 - you might need to start a new shell
- finally, install with
sudo npm install -g @luminati-io/luminati-proxy
Go sure you have no error message (I did run into the error messageerror: no matching function for call to ‘v8::FunctionTemplate::GetFunction()which - although the proxy daemon started - then made all requests hanging in a pending state)
Now, start the proxy with proxy-manager which among other output should show this:
| ================================================ |
|                                                  |
|                                                  |
| Open admin browser:                              |
| http://127.0.0.1:22999                           |
| ver. 1.357.632                                   |
|                                                  |
| Do not close the process while using the         |
| Proxy Manager                                    |
|                                                  |
|                                                  |
| ================================================ |
Now, open your browser at http://127.0.0.1:22999 (important: HTTPS does not work!) and log in with your brightdata account.
Testing the luminati proxy
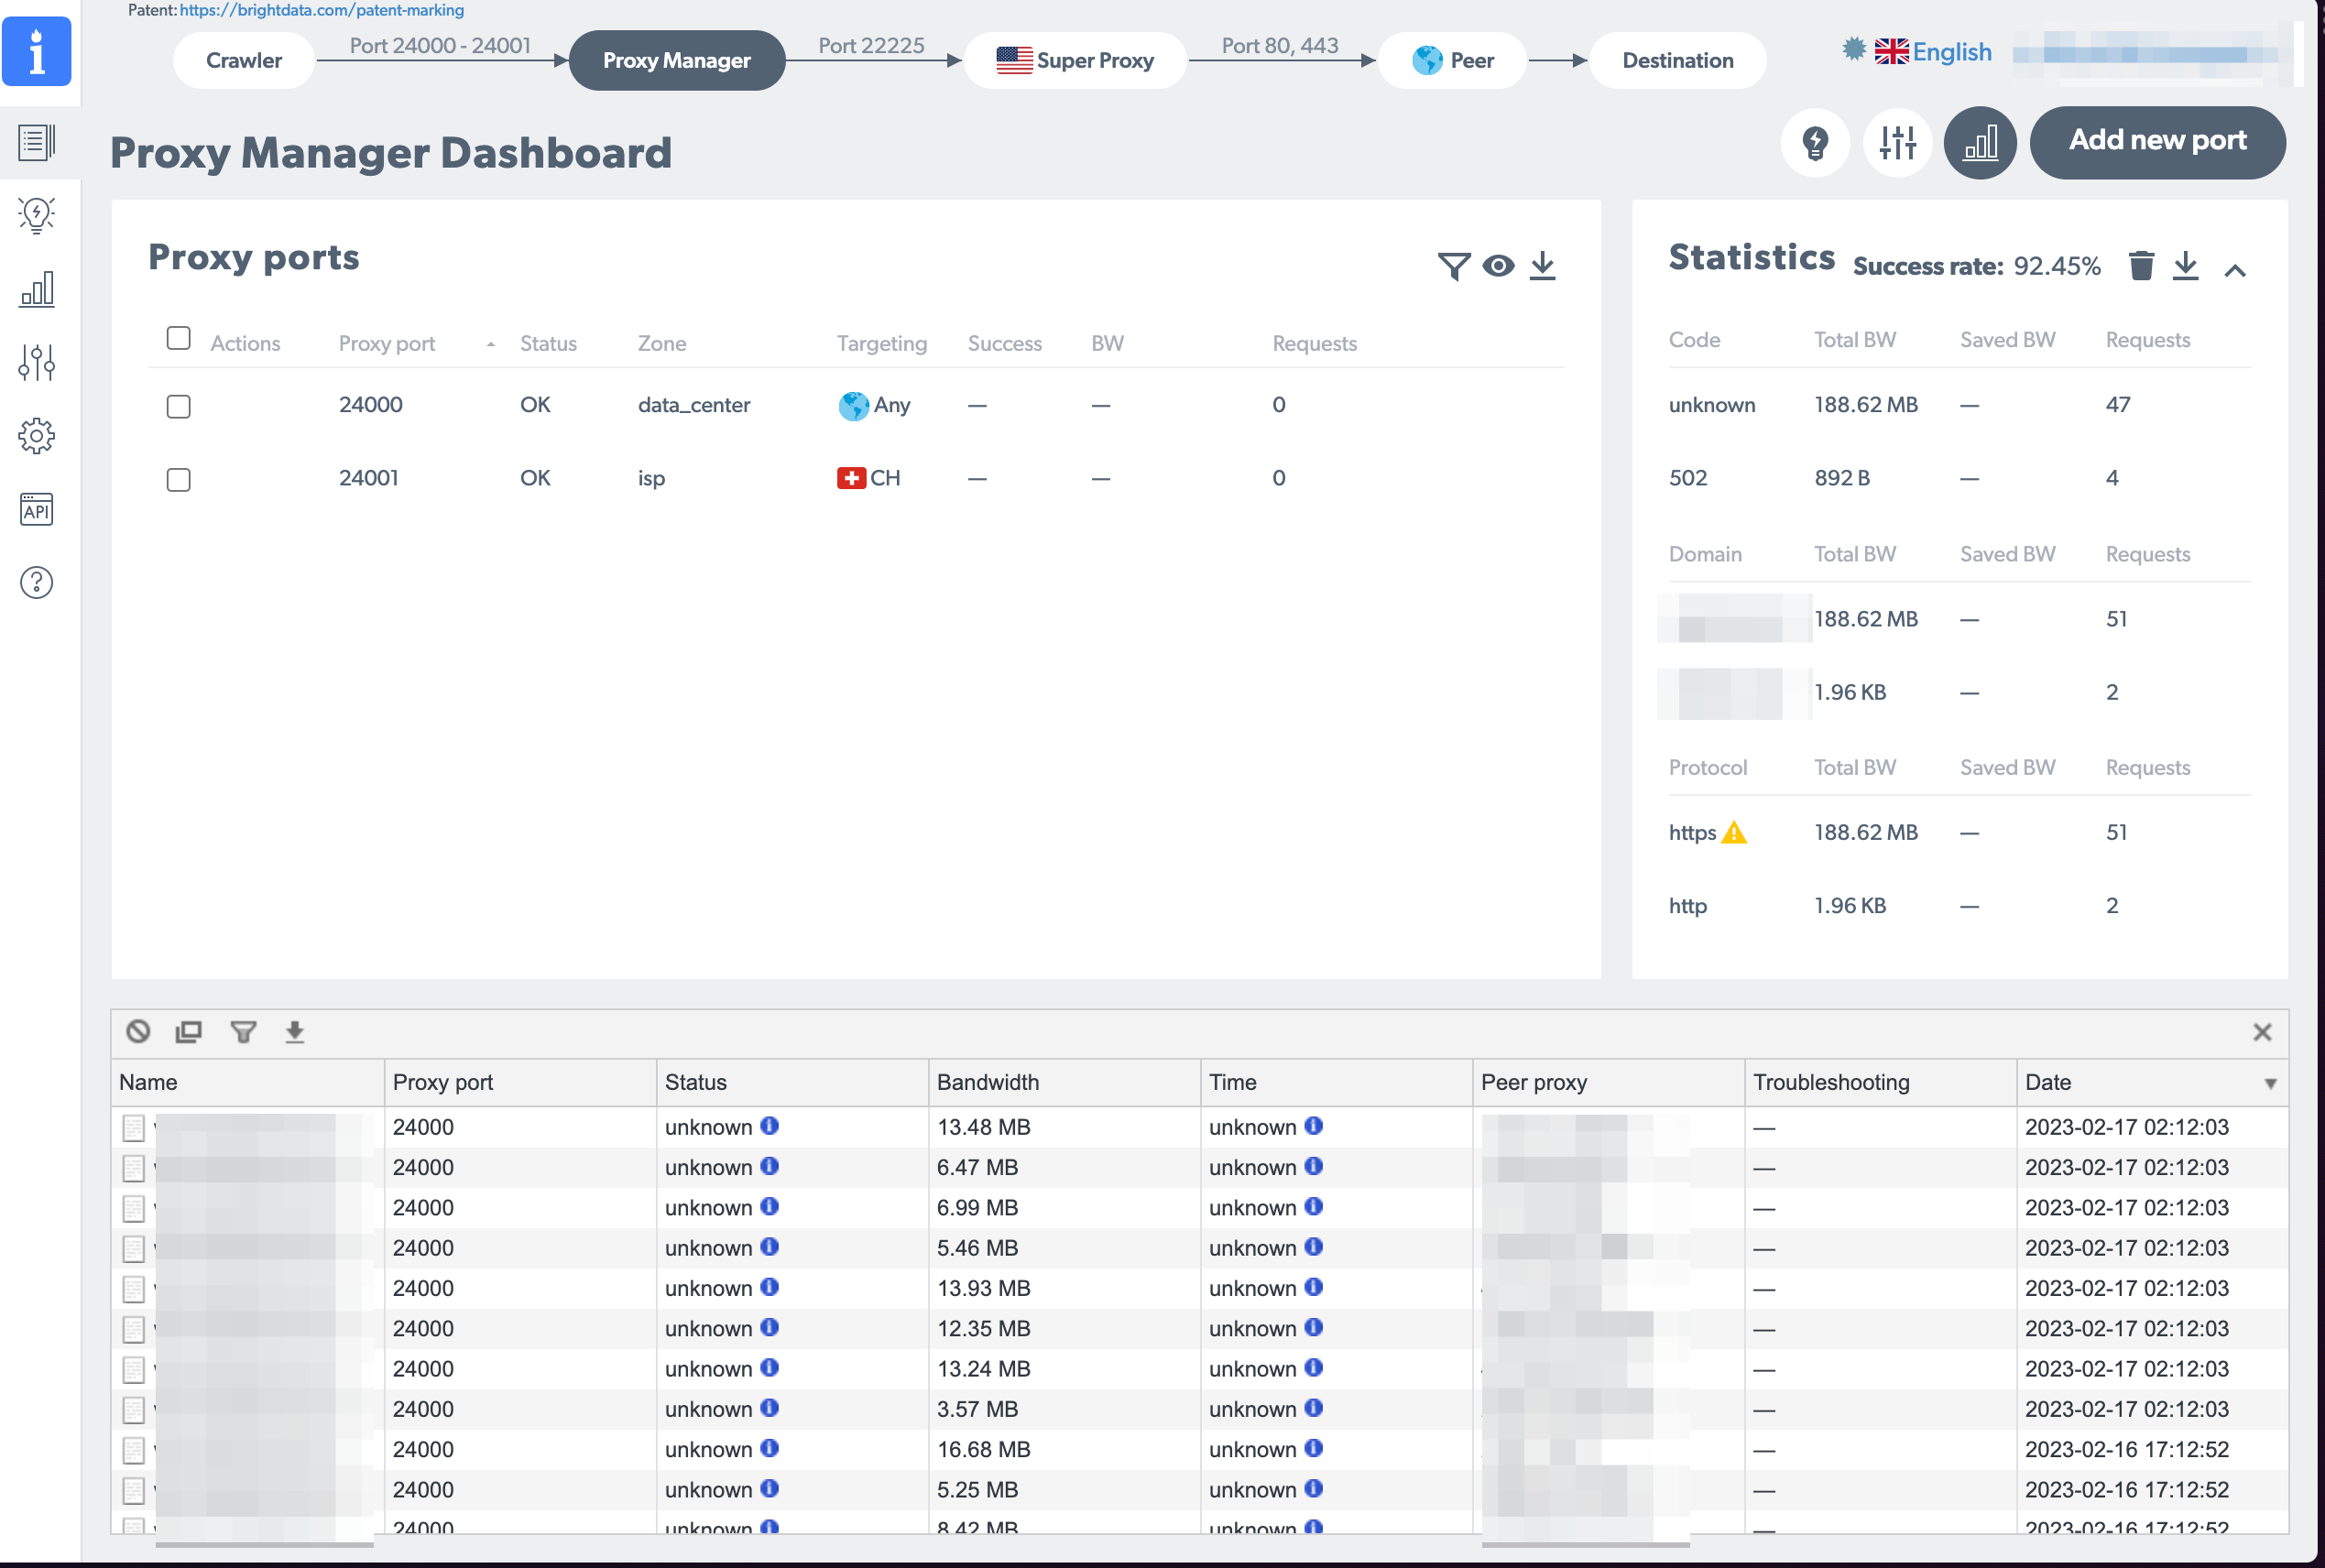
Before jumping into scrapy, make sure that the proxy is really working: In the console, run curl -x localhost:24000 http://lumtest.com/myip.json which will use luminati as the proxy. Port 24000 is the default port, you can configure more ports with your proxy manager web view adding “add new port”
If all is successful you should see…
- In your proxy manager web view in the overview tab the request pops up in the bottom half of the screen
- The result of curl should show an IP which is not your own
If this is both true then congrats: Stage 1 is clear, you have a scraping proxy running!
Connect Scrapy to luminati proxy
This is the easy part, all you need is to pip install scrapyx-bright-data and then add this config to your crawler:
  custom_settings = {
      'DOWNLOADER_MIDDLEWARES': {
          'scrapyx_bright_data.BrightDataProxyMiddleware': 610,
      },
      'RETRY_TIMES': 20,
      'BRIGHTDATA_ENABLED': True,
      'BRIGHTDATA_URL': 'http://127.0.0.1:24000'
  }
I’m liking this per-crawler config as I’ll only pipe a few of my crawlers through the proxy. Those who don’t need a proxy I leave without as I’m paying for every request going through Brightdata.
Now, when running the crawler with scrapy runspider mycrawler.py -L WARN then you should be seeing the requests on your proxy manager window.
Installing on server
The procedure on the server is similar than when installing locally. The only difference is the way you access the proxy manager.
- make sure port 22999 is open from outside (you could make it open to the world as brightdata does ip protection for you)
- connect you browser to http://your.ip-address:22999 (e.g. http://123.123.123.123:22999). Important: https does not work, it’s http only. And the domainname of my linux box didn’t work either as it would always redirect me to https
- after logging in you’ll be blocked and need to enable your ip on the linux host with running e.g.
lpm_whitelist_ip 123.123.123.123
That’s it! After this I was delighted to see my scrapy crawler being unblocked and fresh data flowing in again to my little project of mine 🎉
Comments